UNESCO World Heritage Site: The Singapore Botanic Gardens

19673234939_66670cfa7c_k
Bandstand at Singapore Botanic Gardens

The Singapore Botanic Gardens has been inscribed as the first UNESCO World Heritage Site in Singapore. The Gardens is the first and only tropical botanic garden on the UNESCO’s World Heritage List. I was delighted to know the news, and I wish to congratulate those who have put in the hard work to make this possible.

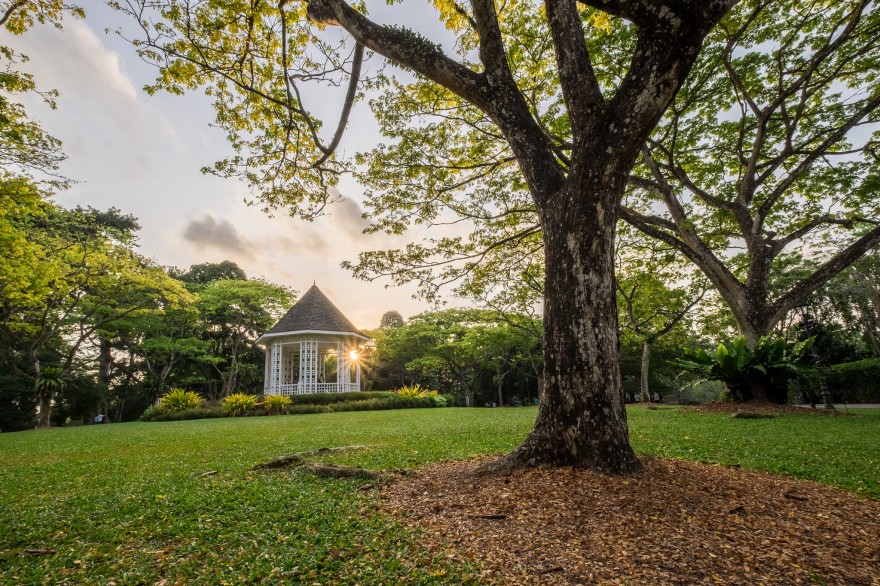
The Singapore Botanic Gardens is a huge garden with endless of beauties in it awaiting to be discovered. I will drop by from time to time as the garden is so huge, you can hardly cover all of it within a day! Yes, and having such a huge landscape of garden in the small country is really a blessing.

As the name “Gardens” implies, the whole garden was made up by a few smaller gardens namely Healing Garden, Evolution Garden, Foliage Garden and so on. Besides that, there are also a few nature-centric attraction such as the Swan Lake and Rain Forest which brings you a step closer to the mother nature.

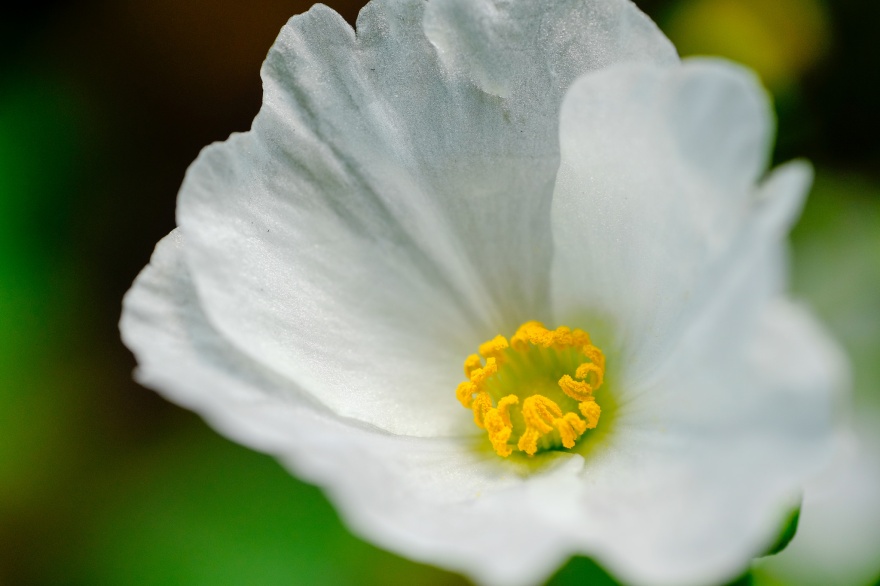
Other than attractions for visitors, the garden hosts some research facilities for horticulture and conservation biology. The National Orchid Garden provides visitors with a glimpse of the national flower of Singapore. Everyday, the garden is filled with people who came for exercising, outings, activities and so on.

There are many spots for event as well, such as the Symphony Lake and some event hall. There are also restaurants and souvenir shops for tourist and visitors. Photography group will often venture here to take on macro photography and birding at times when the season is right.

For many of us, this is a place full of memories. Memories of wedding pictures, family outings, a walk with your lovers and so on. It’s great to see the garden has been well maintained and the history has been well preserved. Hopefully it will continue to carry on the heritage until the years to come 🙂

Macro Photography with Fujinon XF56mm F1.2 R

The XF56mm F1.2 R lens is a portraiture lens… or so they say. However, I wish to defer. Adding the MCEX-11 Macro Extension Tube and it will become a pretty decent macro lens.

I think a lens is just a “focal length” for you to use at the end of the day. What matter most is how you want to use it to create the result you want. A lens can be a landscape lens, a portraiture lens and a documentary lens at the same time. The limitation is not on the lens, it’s on you – the one who press the shutter. Grab a lens and start to enjoy shooting something different from the usual. Set your imagination free and immerse in new creativity. Till then, happy shooting 🙂

The Diamond of Jurong

27868136150_d7d7851d9d_k

A walk down Yung Kuang Road and you will be greeted with 21 storeys HDB flats that used to be the pride of Taman Jurong. They were the tallest flat in Jurong when they were completed in the 1970s.
What’s so unique about a HDB flat? The four blocks formed a diamond shape that can only be described as… iconic. Hence, it is broadly regarded as “The Diamond Block” by many.
Unlike the modern HDB flats which has void deck on level 1, the level 1 of the “Diamond Block” is occupied by shop lots.
The flats were previously under a demolish plan, but were now seems to be under refurbish and upgrading work.
Hopefully the building will stay for the years to come. I’m sure it brings back memories for those who have lived their childhood at this vicinity.

A Beginner’s Guide to Fujifilm X Series Camera – Focus Peaking

15413490230_7eeadc9402_k

One of the advantages for using mirrorless camera (such as the Fujifilm X series camera body) is that you can easily adapt all sorts of lenses on the camera. From old Minolta lenses, Canon lenses, Leica lenses and so on. For those who owned a collection of vintage or manual focusing lenses such as Minolta lens, Leica lens or Zeiss lens, it is as good as breathing new life to their lens collection, as they get to use those lenses on the camera body via a simple mount adapter. There are people who adapt their DSLR lenses on mirrorless as well. Here’s a nice article about adapting lenses on mirrorless body:

http://admiringlight.com/blog/using-old-manual-focus-lenses-on-mirrorless-cameras/

Although you get to use all sorts of lenses on the Fujifilm X series camera body, however you will lose the ability to perform auto focus (well, of course) and one will need to rely on manual focus in order to get things done. It may sounds hard and troublesome, but actually it is pretty easy to be done as there are features such as focus peaking, digital split screen and magnification available on the Camera body which assist you in obtaining focus accurately.

Of all the manual focus aid, my preference is to use focus peaking. Generally speaking, focus peaking will show colour dot over the edge of your subject when it is in focus. This method holds true for most of the time. However, when you are shooting high contrast object, the edge will sometimes be fooled to show it is in focus with the peaking dot while in actual the subject is not yet in focus.

To work around this limitation, I find that instead of looking for the edge to show peaking dots, look for the depth of field. When you focus, you should be able to see peaking on certain distance/area/zone, that’s your depth of field/region where with your given setting, the subject falls within that region will be in focus. So you just turn the focus ring until that region covers your subject. By focusing this way, I found that my success rate is much higher.

When required, I’ll couple focus peaking with magnification to get the most precise focus. As for digital split image, I personally don’t find it useful for me to acquire focus easily. Hope this sharing will become useful for you.

A Beginner’s Guide to Fujifilm X Series Camera – User Preset Custom Settings

17056709987_8648f276e5_k

There’s this feature in Fujifilm X series camera which I believe is least being used by most. However, I find this feature to be a pretty useful feature which speed up my workflow. It’s called the “Custom Setting”. You can edit the custom setting by heading to menu, then scroll down and look for “edit/save custom setting”. From there you can edit and save your personal preferred setting individually for up to 7 custom settings.

Items that you can predefined in custom settings include:

ISO
Dynamic Range
Film Simulation
White Balance
Color
Sharpness
Highlight Tone
Shadow Tone

Noise Reduction

By now you may realized that these are the parameters that affect the in-camera JPEG processing. Hence, the custom setting is particularly useful for those who shoot JPEG only or RAW + JPEG. I have all 7 custom settings set to different film simulations, and for each film simulation I have a set of adjustment predefined. So when I want to shoot in Astia for example, all I need to do is press the Q button, select the custom setting that stored the film simulation and the adjustment profile, and I’m ready to start shooting. When I want to switch to another simulation, instead of pressing the short cut button on the D-pad, all I need to do is just press the Q and switch the custom settings.

Using the custom setting as a way to change your film simulation gives a few advantages:

  1. It frees up the D-pad, so I can assign direct AF point adjustment function to it
  2. I can ensure consistency on the output of my picture with certain style that I want (such as high contrast fir monochrome image and etc)
  3. Faster workflow for JPEG shooting. Most of the shooting adjustment has already been predefined by you, and if there’s any changes required to be made in the field, it can be done easily and much faster (consider the fact that you may want to change more than one parameter)
  4. Free up spaces in the Q menu. For camera which allows customization of Q menu, having some parameters predefined and stored in the custom setting allows you to remove those parameters from the Q menu and replace with something else. Hence, less hassle to dive into the menu system.

I hope I had brought my idea across… It’s not an easy topic to explain. Nevertheless, here are the 7 custom settings that I used in my X camera:

Custom 1:

ISO: Auto (200-6400)
Dynamic Range: Auto
Film Simulation: Velvia
White Balance: Auto or 5600K
Color: +1
Sharpness: +1
Highlight Tone: -1
Shadow Tone: -1

Noise Reduction: -1

Custom 2:

ISO: Auto (200-6400)
Dynamic Range: Auto
Film Simulation: Provia (Standard)
White Balance: Auto
Color: +1
Sharpness: +1
Highlight Tone: -1
Shadow Tone: -1

Noise Reduction: -1

Custom 3:

ISO: Auto (200-3200)
Dynamic Range: Auto
Film Simulation: Pro Neg Hi
White Balance: Auto
Color: +1
Sharpness: +1
Highlight Tone: -1
Shadow Tone: -1

Noise Reduction: -1

Custom 4:

ISO: Auto (200-6400)
Dynamic Range: Auto
Film Simulation: Monochrome
White Balance: Auto
Color: 0
Sharpness: +1
Highlight Tone: +2
Shadow Tone: +2

Noise Reduction: -1

Custom 5:

ISO: Auto (200-6400)
Dynamic Range: Auto
Film Simulation: Monochrome + Red Filter
White Balance: Auto
Color: 0
Sharpness: +1
Highlight Tone: +1
Shadow Tone: +2

Noise Reduction: -1

Custom 6:

ISO: Auto (200-3200)
Dynamic Range: Auto
Film Simulation: Astia
White Balance: Auto
Color: +1
Sharpness: +1
Highlight Tone: -1
Shadow Tone: -1

Noise Reduction: -1

Custom 7:

ISO: Auto (200-6400)
Dynamic Range: Auto
Film Simulation: Classic Chrome
White Balance: Auto
Color: +1
Sharpness: +1
Highlight Tone: -1
Shadow Tone: +1

Noise Reduction: -1

As such, I have remove items like colour, sharpness, highlight tone and shadow tone from the Q menu and replaced with other items such as flash control, face detection on/off and etc. you may also realized that for Astia and Pro Neg Hi, my ISO is limited to only 3200, which is the maximum acceptable ISO for shooting portrait in JPEG for me. Of course these are just some of my preference, and feel free to play around with those adjustment and find the best presets that suits your style.


P/S: If you are shooting RAW, this whole thing may not benefit you much at all. But I still find that it’s good to be able to view the picture when I shoot with my personal presets, as this give me an idea on how my picture will turn out in post processing as well.


Credits: This useful technique was first taught by X Photographer, Keith Low during one of his workshop. I have tweaked the settings to my own liking, which is slightly different from his sharing during the workshop.